If you’re sucked into the mushroom-core stuff like I am, then this tutorial is for you!
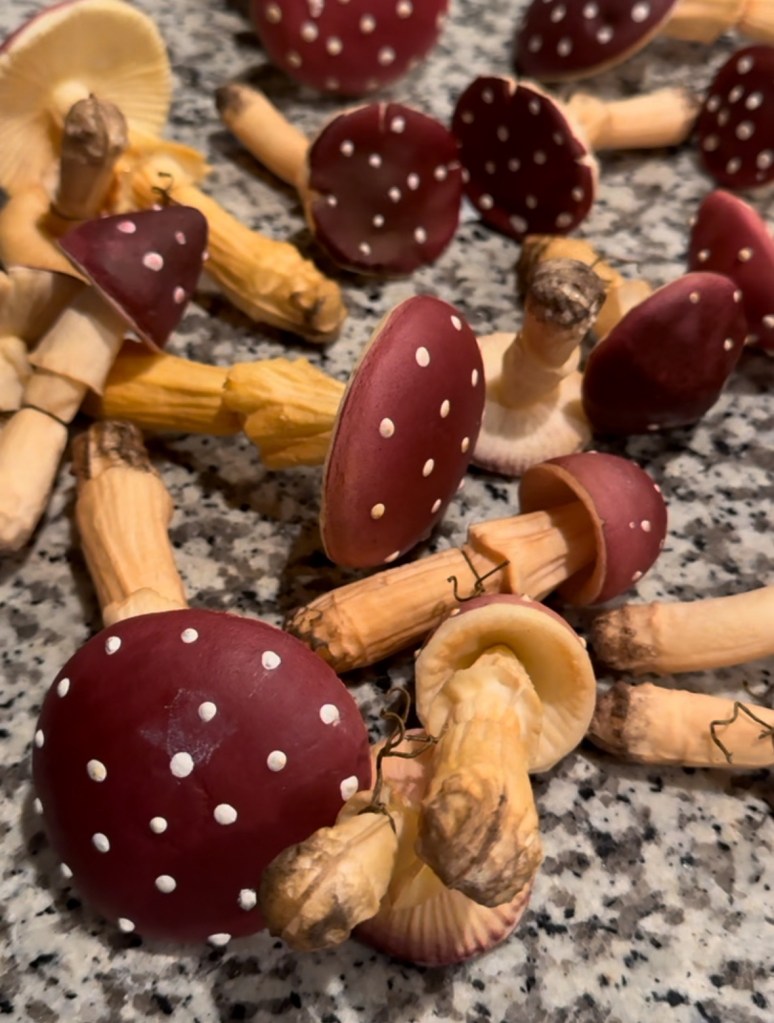
I found these neat little squishy red garland mushrooms on sale last year at Michaels, but wasn’t sure what to do with them. I ended up making a dress (which I’ll blog about too), but I wanted an over-the-top hat to match. However, I wanted to make a shroomie hat that looked different from many I’d seen at renaissance festivals.
Materials: (hyperlinks are where I purchased from)
– Hot glue
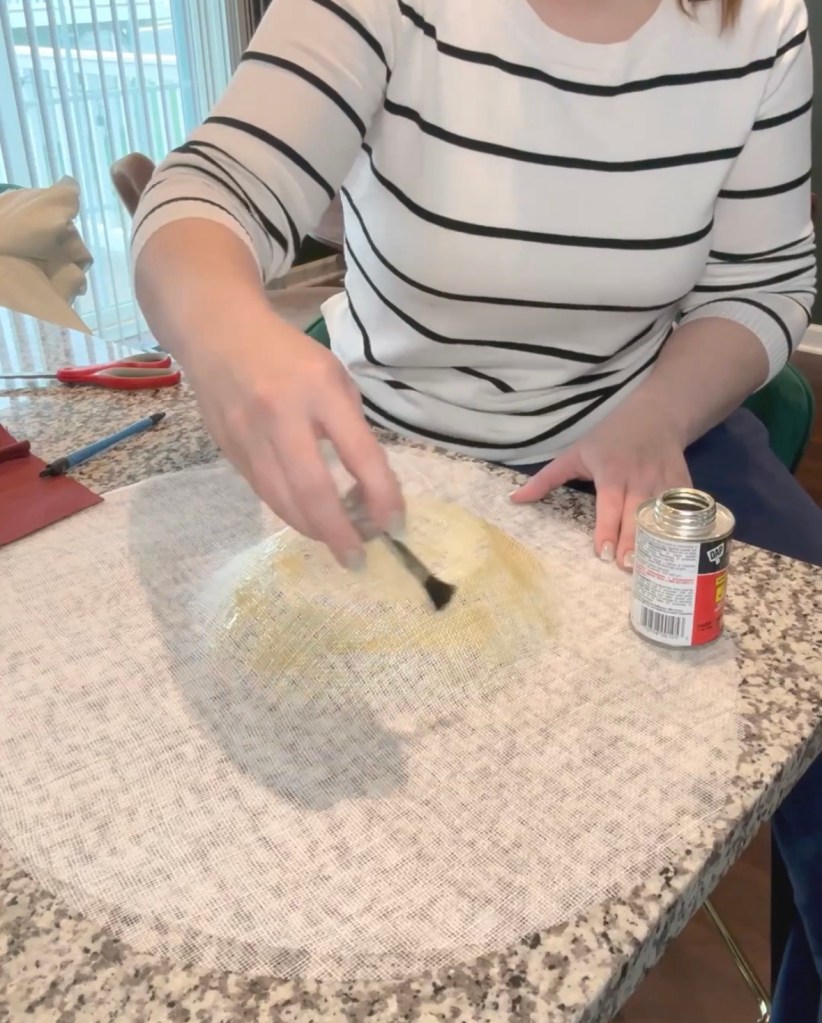
– Contact cement (DAP Weldwood)
– Wire (16 gauge; I’d use thicker next time, like 14 gauge)
– Sheer fabric
– Velvet red fabric
– Headband
– Thread (red and white)
– Spots (anything thick; I had foss shape)
*As an Amazon Associate I earn from qualifying purchases.
Note: this video documents the majority of the steps below.
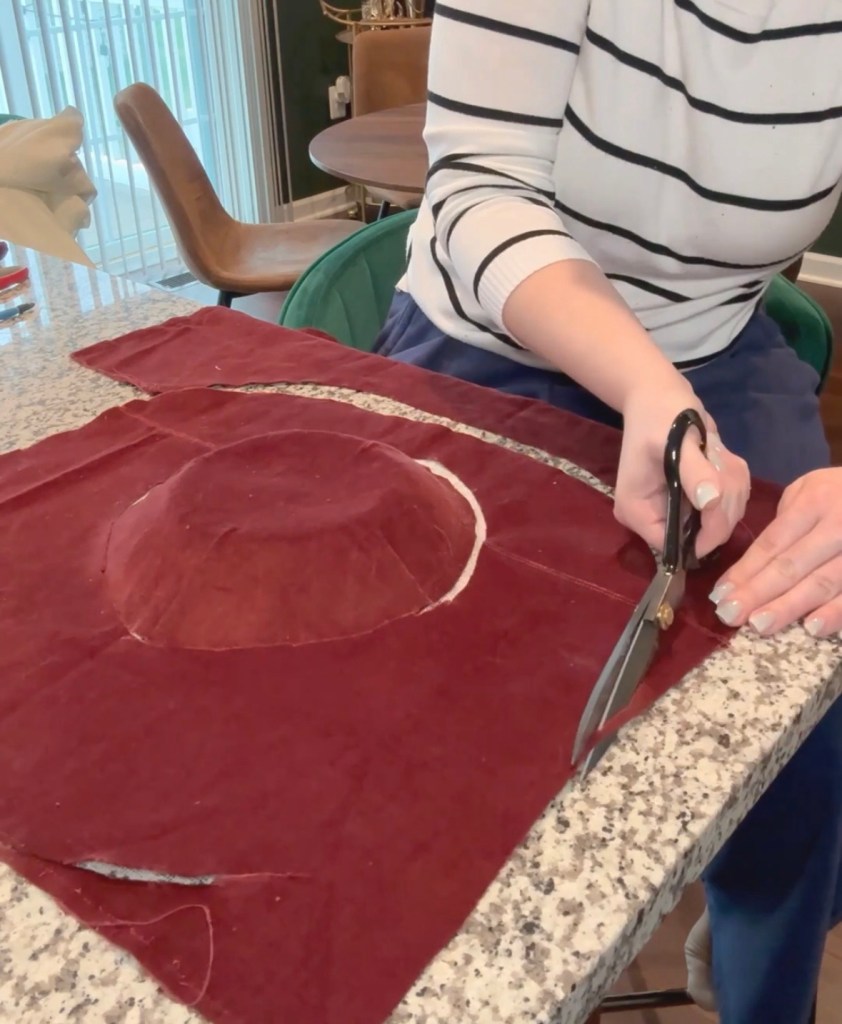
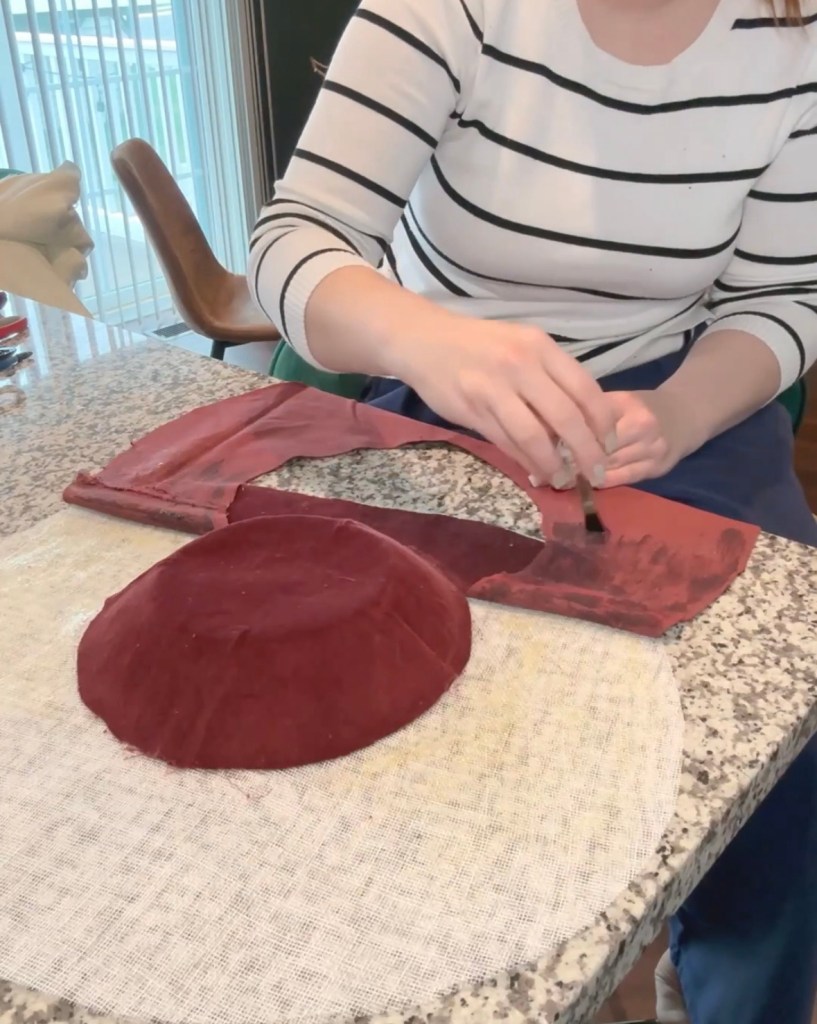
First, you’ll want to cut 2 large oval shapes out of the sinamay. I used a hat I really liked with a similar shape as a reference for how big to cut it, but mine was roughly (24 by 19 inches). Next, I soaked it in water and then shaped it over a colander. Once it dried fully, I trimmed the outer edge to where I wanted.
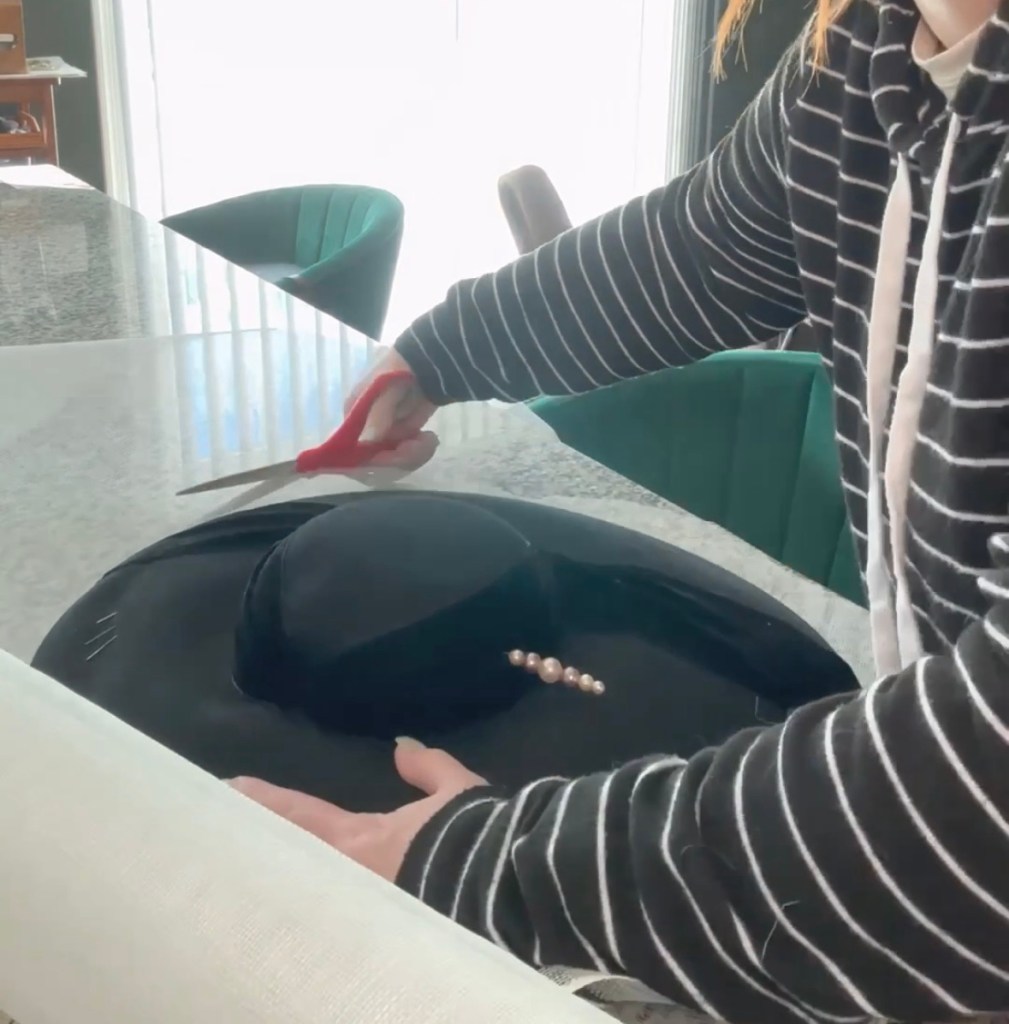
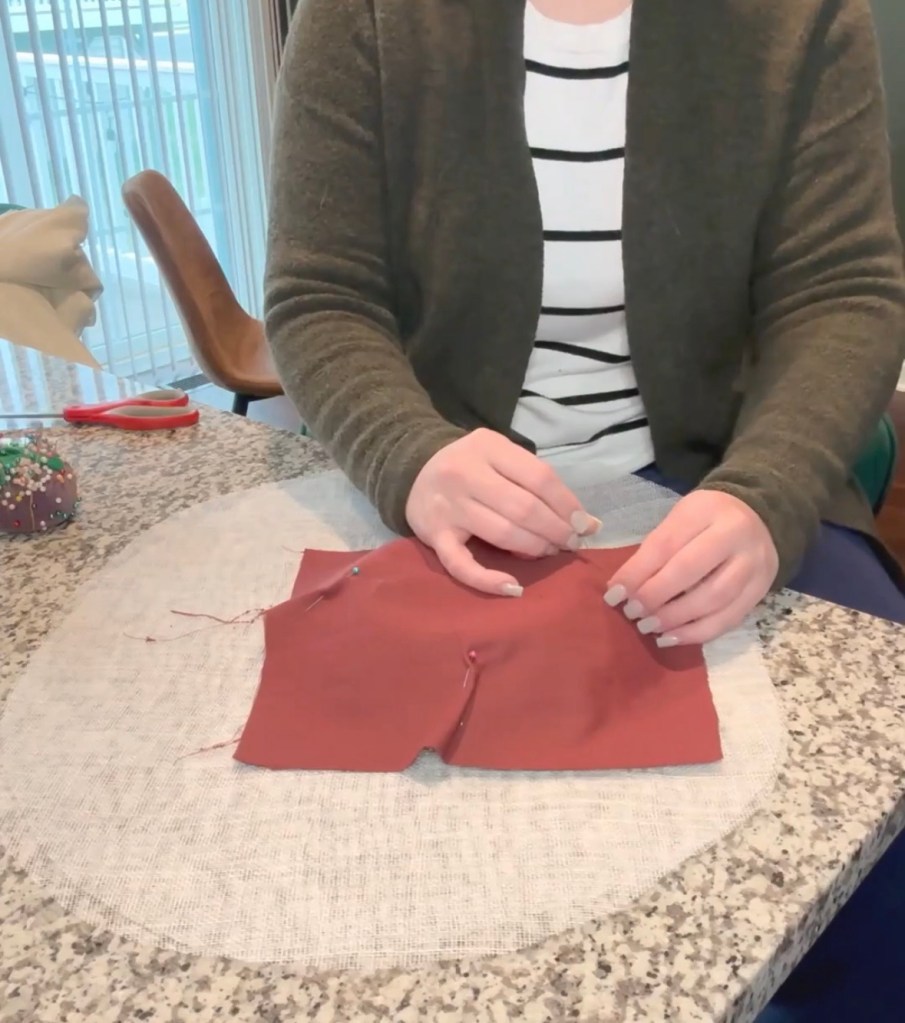
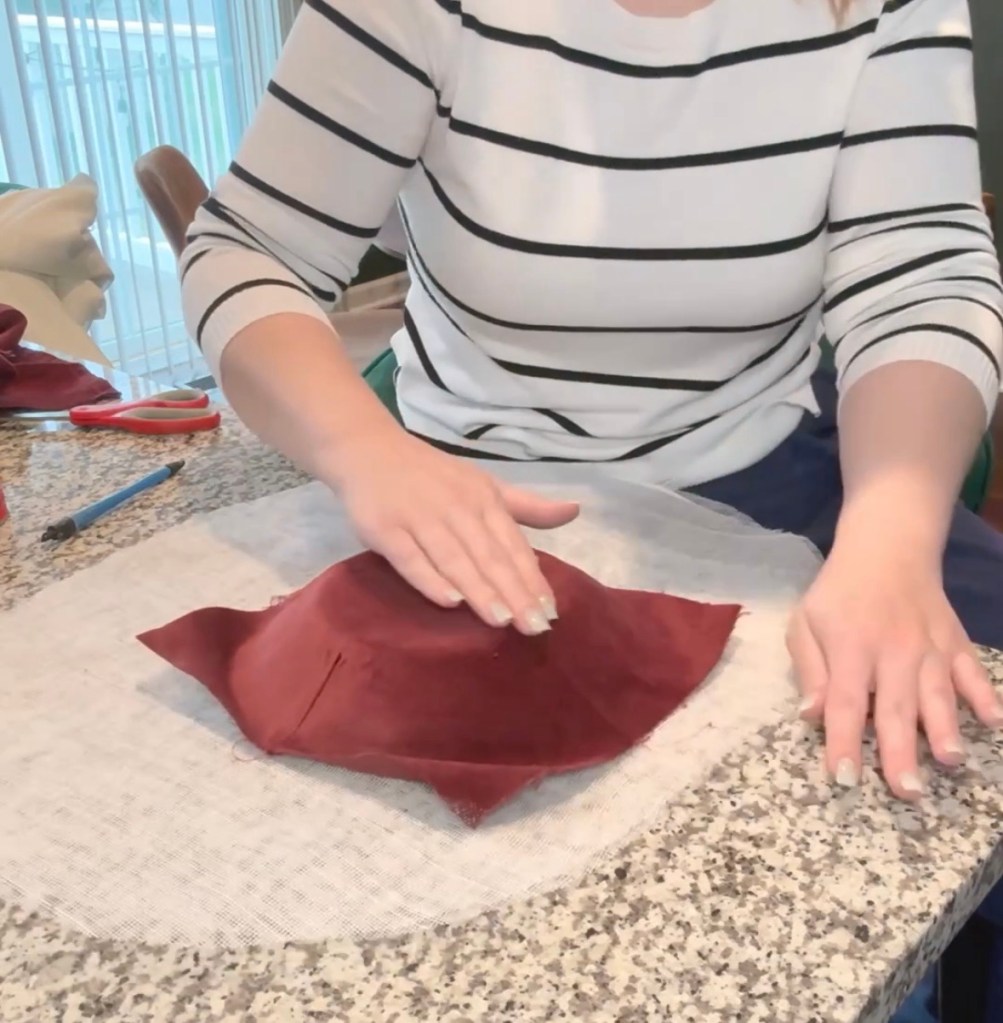
I shaped the velvet red fabric over the top, rounded part and made the appropriate sewing darts so it would lay flat against the raised part. I then coated the wrong side of the velvet fabric and the top of the hat in contact cement. Don’t attach until the glue is slightly tacky; if it’s too wet, it won’t adhere properly. Slowly start at the top and smooth out until reaching the bottom. Do the same for the velvet on the hat brim.
To finish off the hat top, I made some bias tape out of the velvet, and glued it down too.
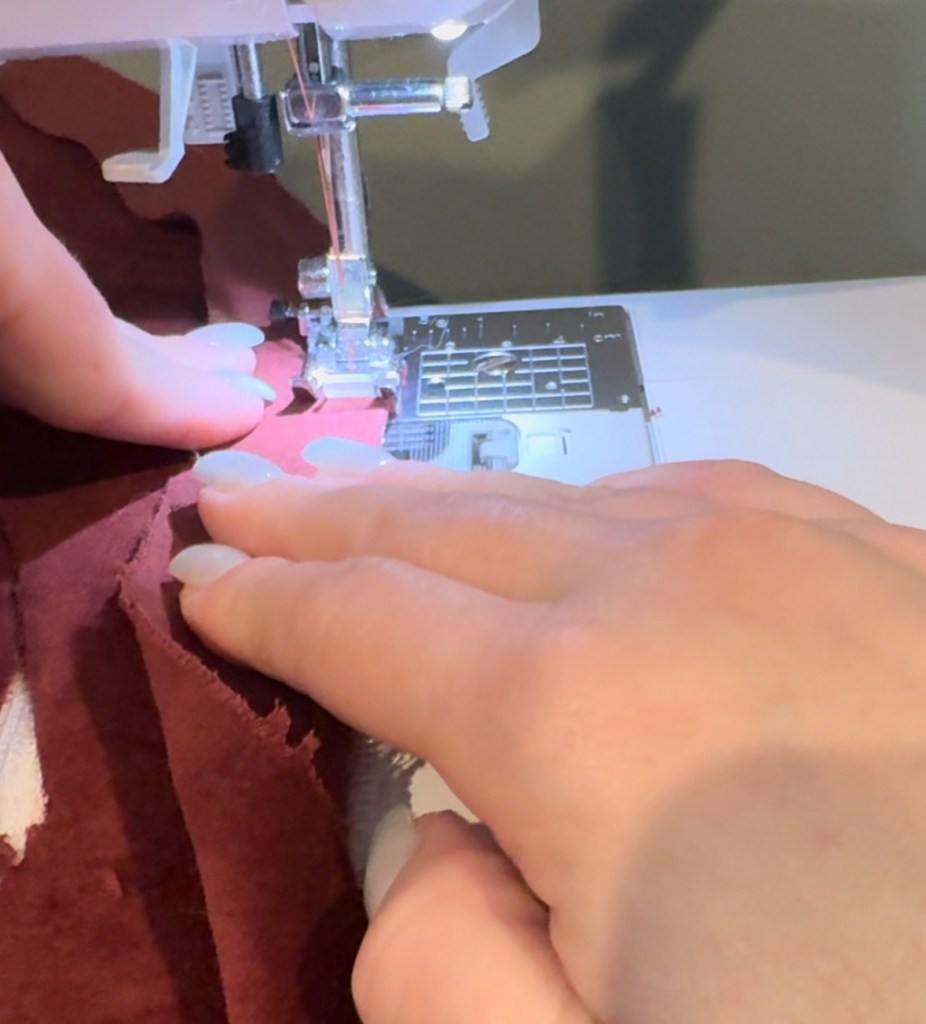
Next I sewed more bias tape (that I made out of the velvet) on my sewing machine to the top of the hat (right sides together). That way, I could easily flip it over and stitch underneath.
After adding the bias tape to the top, I flipped it over and glued the wire right up against my bias tape stitch, so it would be inside the bias tape when I sewed it shut.

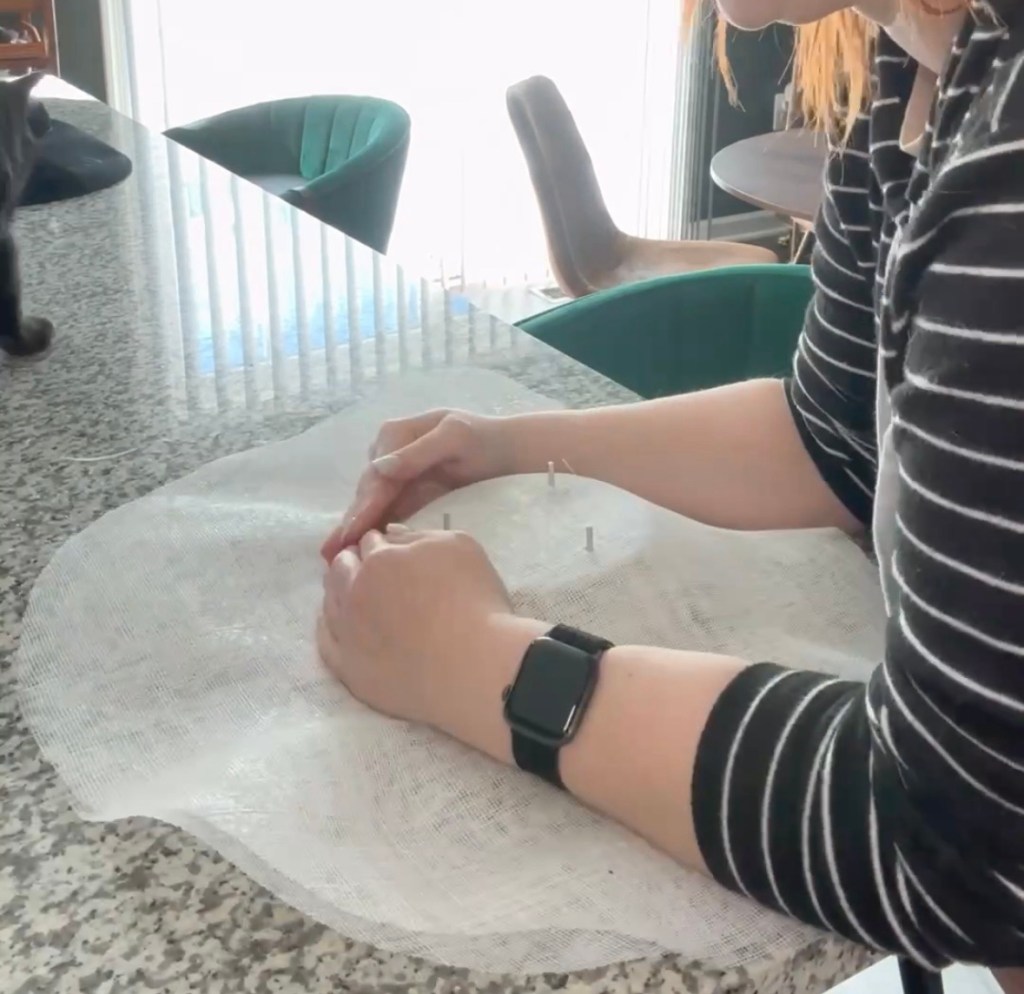
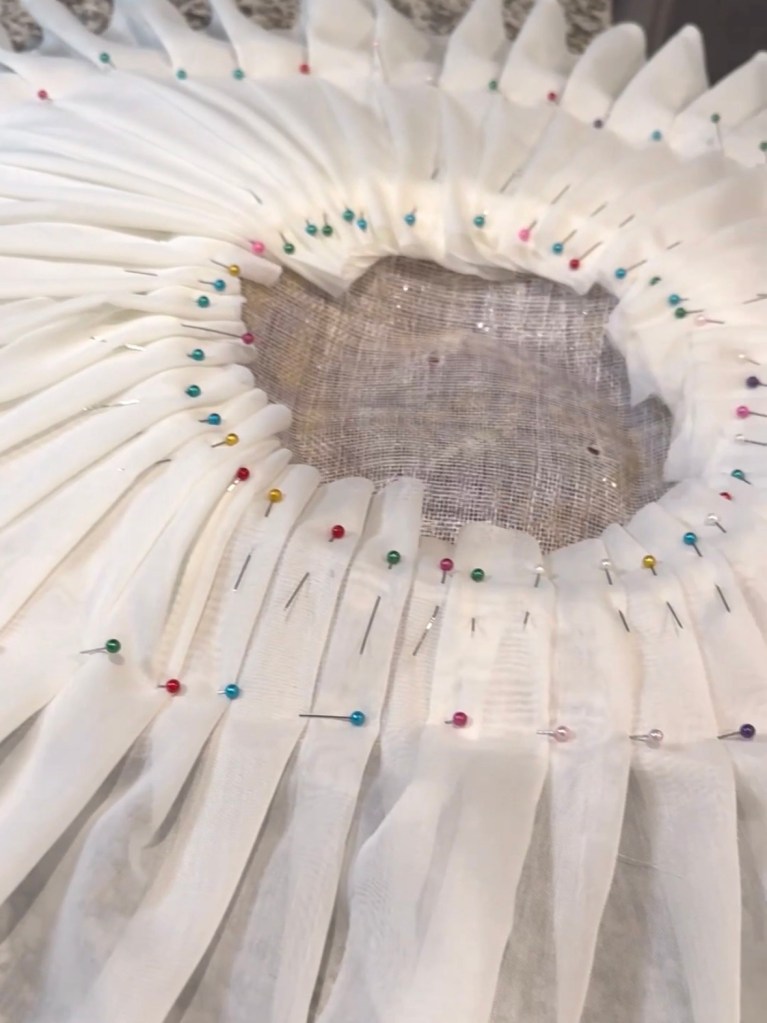
Next I started the tedious process of pinning the sheer fabric in place so it’d look like the mushroom gills. And then I hand stitched the outer and inner edges to hold the folds in place.
Then I flipped the bias tape over and stitched in place.

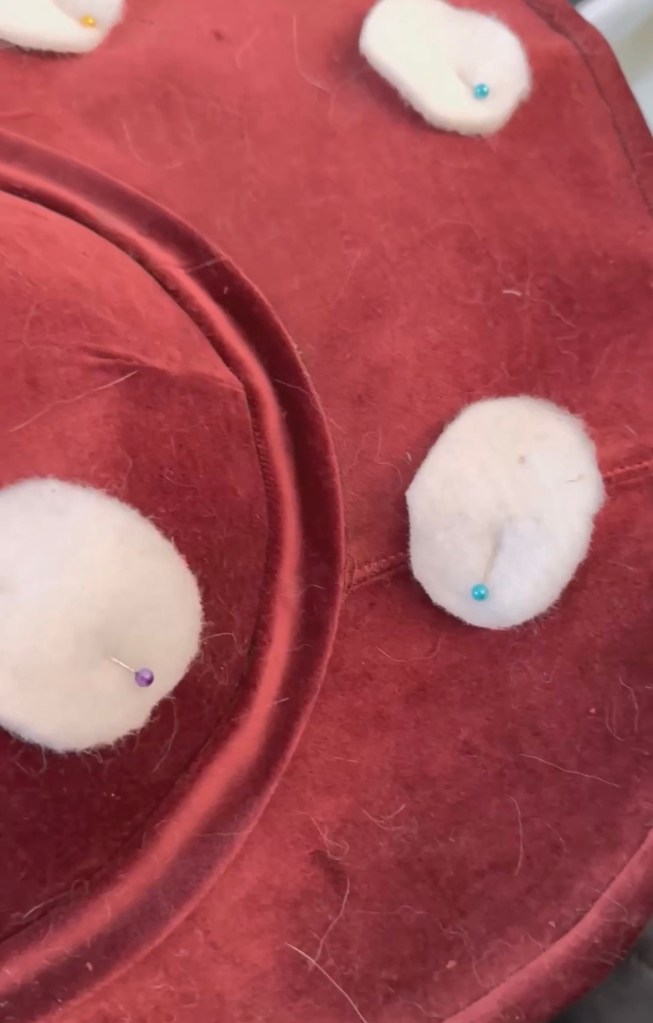
Then I had fosshape on hand, but any thicker fabric, such as felt, would work too, to create the spots. I pinned those in place and hand stitched them on.
Lastly, I got glued a headband inside. I suggest trying the had on and determining where you’d want the headband to sit (before gluing). Then I found some non-transparent silk fabric I had, that I glued down (with contact cement), and smoothed it down just as I had for the velvet hat top.
And now you have a shroomie hat! 🍄

Leave a comment